The Before And After Lighting thread

starcentral

Veteran
There have been a few 'lighting game' or 'lighting setup' threads in the past, but has there been a "before and after" thread? Well I couldn't find one so I hope you guys don't mind but I thought I would start one.

This thread forever more will be dedicated to members of DVXuser providing both a before and after image from a scene they have shot.

Rules & Definitions:
- You must post two images; one being a before image and the other an after image. (they don't have to be in that order)
- The BEFORE image can be a behind the scenes still, a location scout photo, or really any image before lighting and camera has been setup for shooting. The AFTER image is from camera, or after post production has been completed.
- The images should be from roughly the same angle or point of view.
- Listing camera/lighting equipment used or a lighting diagram is optional but not required.
- Please post images in at least 800-1024 pixels wide.
- Feel free to ask questions about the lighting, or even guess at the lighting setup and how it was achieved.
- Have fun!
 
Last edited:
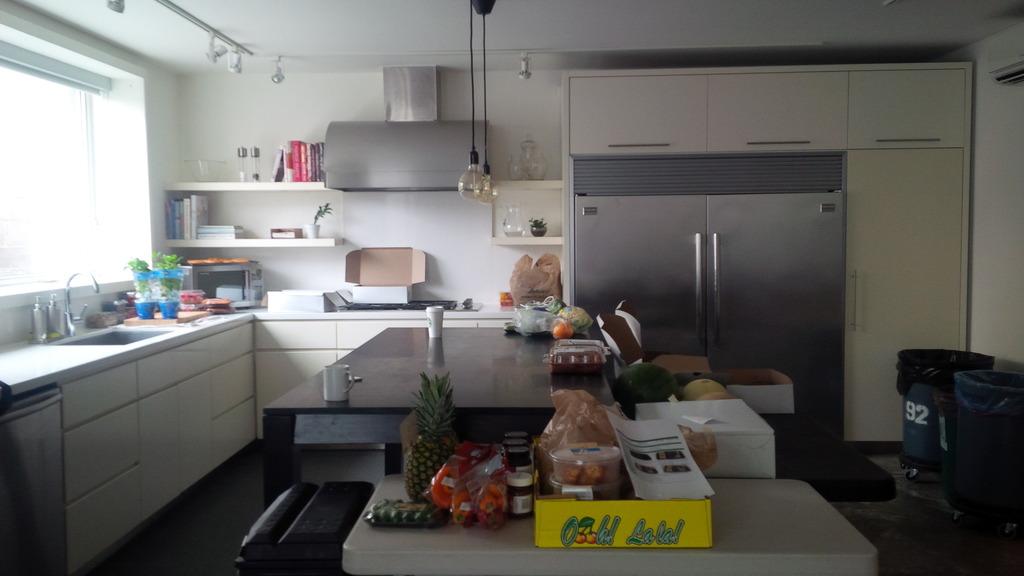
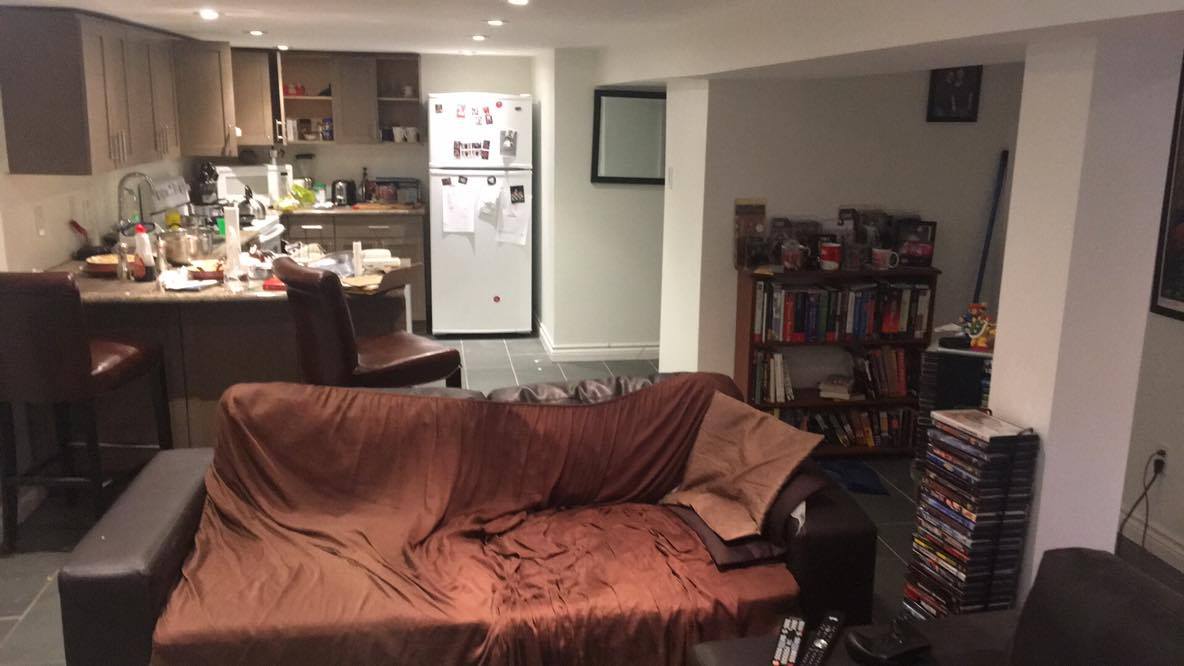
ok I'll go first.


Location scout photo
IMG-20150615-102508-zpslldvrnlf-2.jpg


Windows blacked out - kitchen scene lit from scratch
20059506085_570a76cf10_c.jpg
 
Last edited:
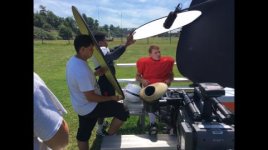
Great idea!
Great idea Dennis!

And the final scene once we sprinkle a little lighting over the top:

teIN1wv.jpg
Amazing stuff here. How did you light this?
- what small lights did you place behind the bottles and such?
- What filter did you use for making the key green?

Thanks a lot, this makes me think I should really get more into art direction and set design as this really makes the location 100X as cool.
 
Great idea!

Amazing stuff here. How did you light this?
- what small lights did you place behind the bottles and such?
- What filter did you use for making the key green?

Thanks a lot, this makes me think I should really get more into art direction and set design as this really makes the location 100X as cool.

I think most of it is covered in the thread Rob linked to.

- The nook lights that we used on the shelves were a couple of Aputure M9s (great little things) with lots of CTO on top of them, and one or two little LED torches (just ones my ACs had on them) again covered in lots of CTO.
- There's a 575w HMI coming through the window
- An Area48 with red gel in the hallway behind the bathroom (which gives us the separation behind his head)
- The key light is two Aputure M9s above the mirror, gripped in place by the actual gel that's turning them green (Forrest Green or Emerald Green I think). So literally I've just taped the gel to the wall, and used that to hold the key light in place :p
 
Alrighty, here's another:

A quaint little pub out in the country:

JxQdCxa.jpg


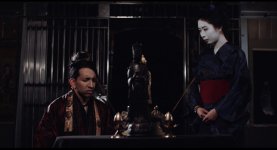
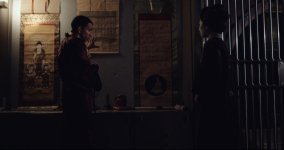
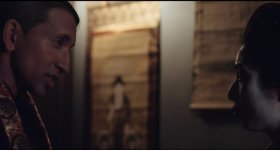
Which we turned into a 90s era setting for a crime caper on S16mm:

zwWdjML.jpg


N40AZdX.jpg


fR7v7Pp.jpg
 
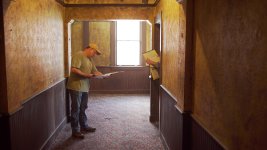
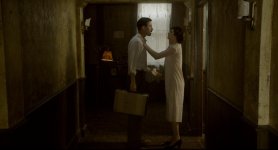
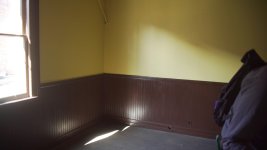
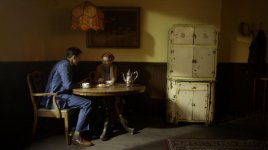
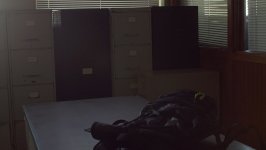
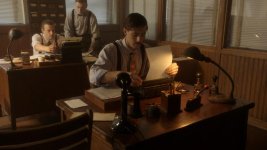
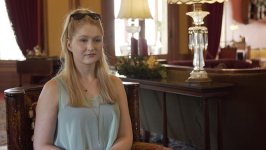
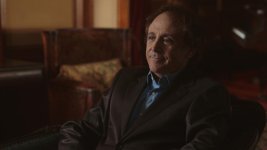
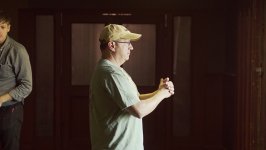
Shot earlier this year, from a documentary on the life of John Weld (stuntman, journalist, author, filmmaker...)
Locations in these photos are from Castle Green in Pasadena, and Lacy Street Studios.

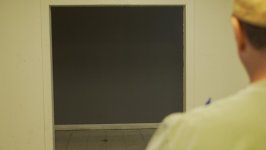
Before:
DSC00012 copy.jpg

After:
Hallway.jpg

Before:
DSC00018 copy.jpg

After:
Untitled Hopper.jpg

Before:
DSC00025 copy.jpg

After:
Newspaper Room_E.jpg

Before:
DSC00012.jpg

After:
John Weld 2.jpg

Before:
DSC00030 copy.jpg

After:
Coconut Grove 2 IG.jpg

Before:
DSC00032.jpg

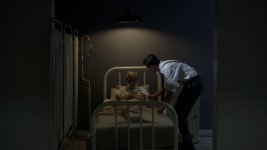
After:
Hospital_B.jpg
 
Last edited:
"I'm thinking this should be the "before and after lighting and art direction and set dressing" thread. Those are as much if not a more a part of the transformation as the lighting. Some of these places are nearly unrecognizable afterward."
100% agree. Production Design by Rollin Hunt on the John Weld documentary.

"Nice Bill...I'd recognize Lacey anywhere! countless shoots there over the years."
Thanks Charles. Lacey Street is definitely a part of history. I'm still coughing up the mold spores : )
Let's see some of your before and after pics!
 
Back
Top