iFocus M1

twocik23

Veteran
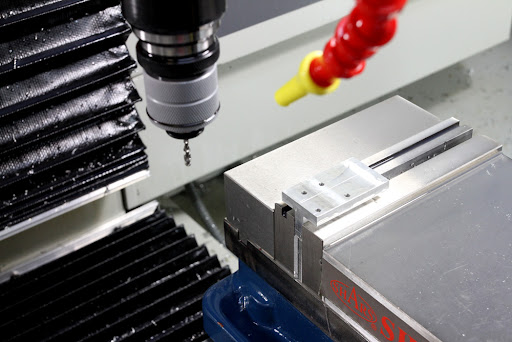
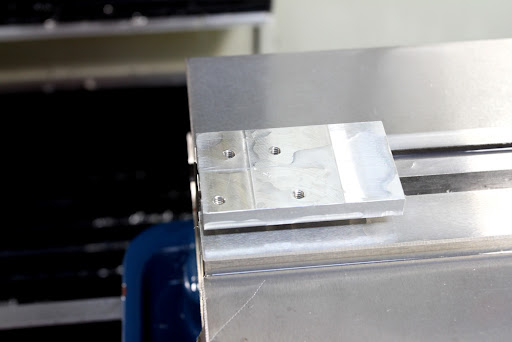
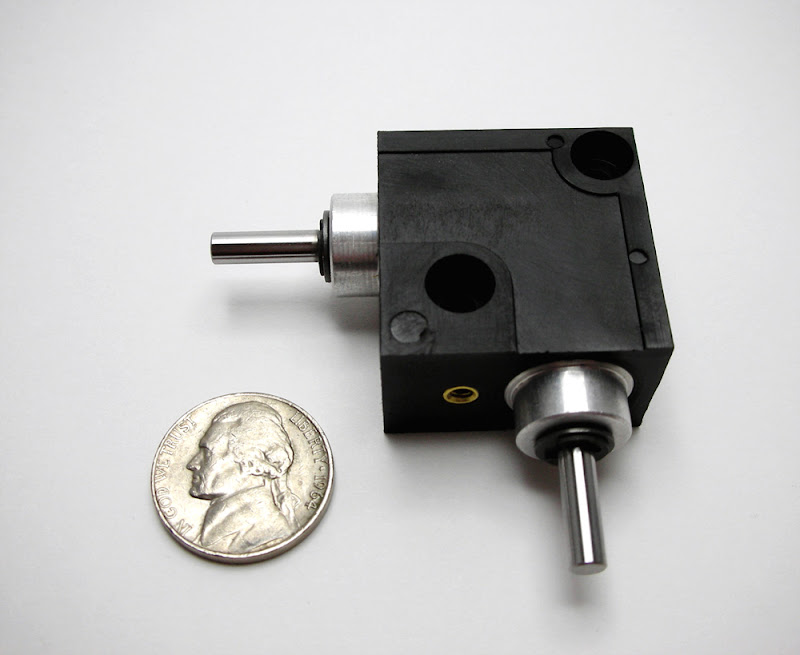
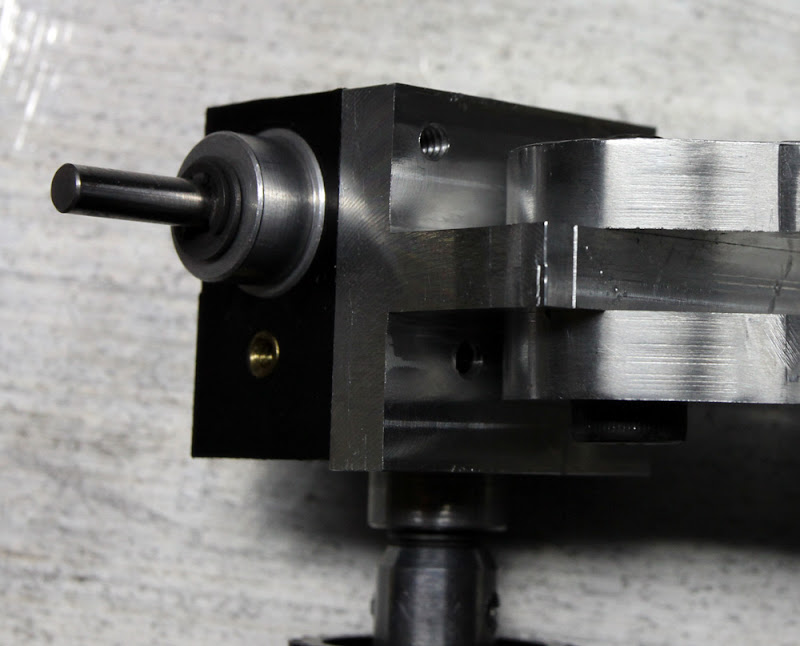
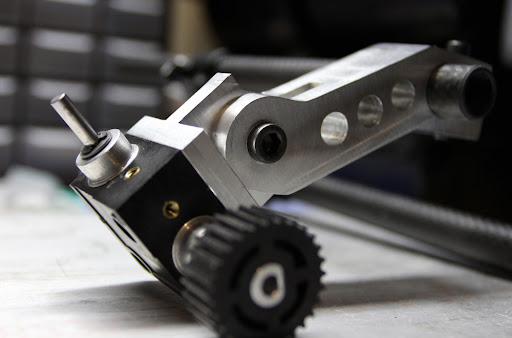
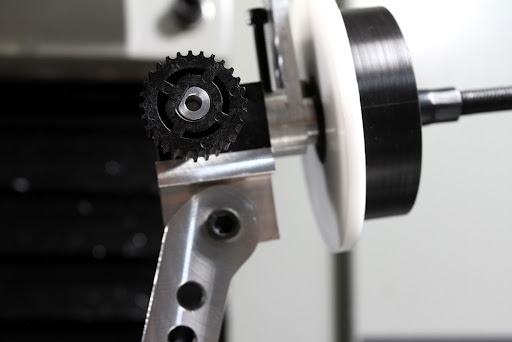
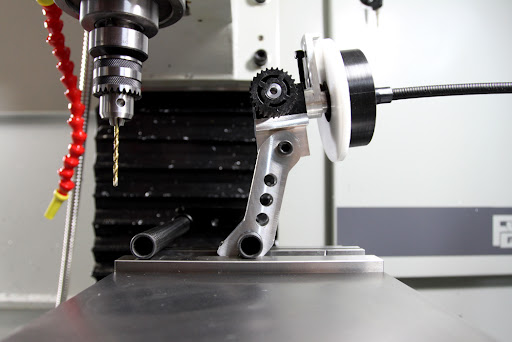
New style follow focus idea that I had the other day and got most of the leg work done, just a few adjustments and onto testing.

I'm going to post the pictures as I go along, so stay tuned. These are fresh off the machine and haven't been finished yet. Putting them thru the tumbler for 24 hours tonight.


Let me know what you guys think
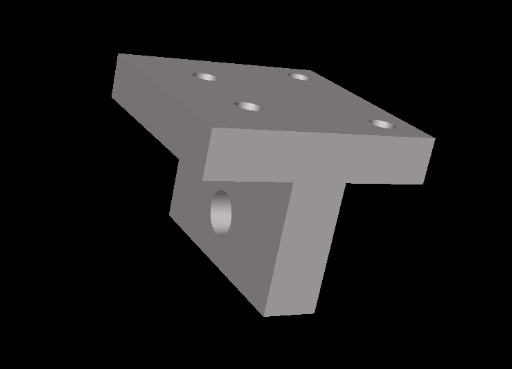
3D%20CAD.png


FF%20Top%20Plate.jpg


FF%20Top%20Plate%20CU.jpg


Gear%20Box.jpg
 
Last edited:
I wouldn't care what was being made, it's just damn cool to see the machines and behind the scenes of millin' and drillin'. Love it.
 
What amazes me is how clean your machines are. I'm gonna have to get out the buffer before I take any pictures.

Where are the coke cans full of cigarette butts?
No puddles of cutting oil!
No tinsel Fairy droppings!
 
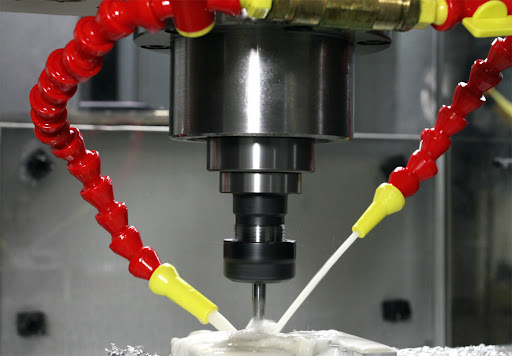
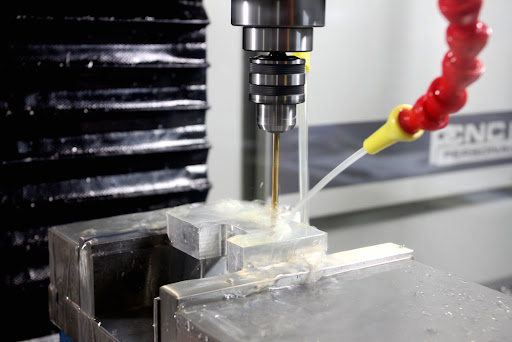
A clean shop is key to a clean workflow. I cleaned them a little bit before I took these pictures. Don't get me wrong they get pretty dirty and I take 1 hour a day to clean & maintain them. I don't use cutting oil for aluminum, most ferrous metals only. Don't smoke or drink soda, those are bad for you! :) I'm running a flood cooling system, works great.
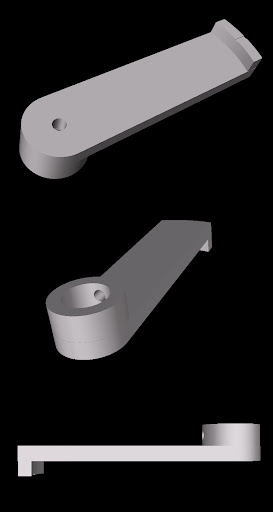

Next part to be cut


FF%20Post%20Marker%20Arm.jpg
 
I had a few hours today to cutout some more parts.


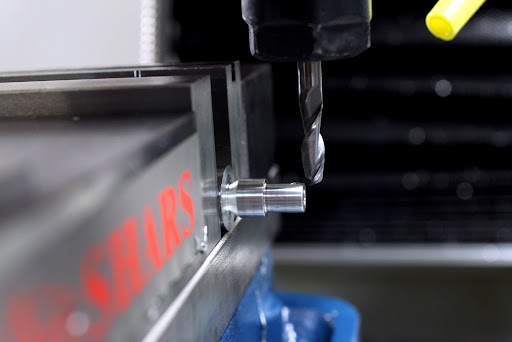
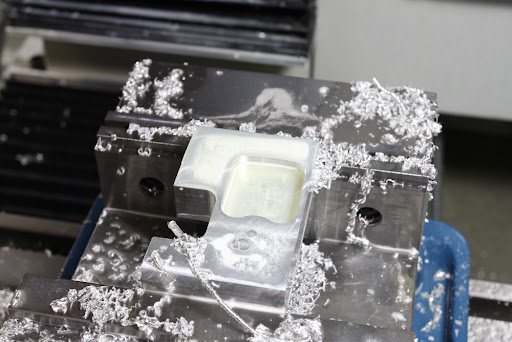
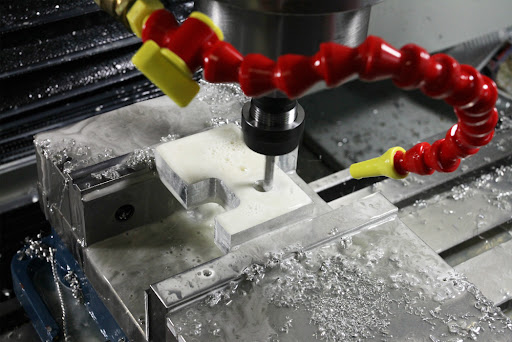
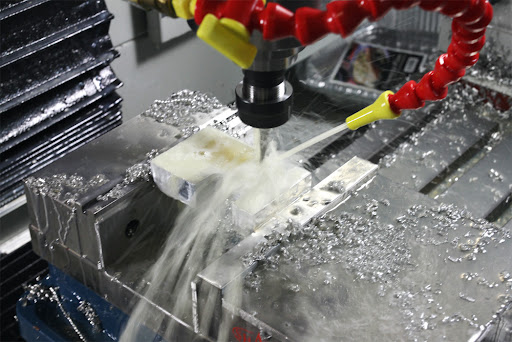
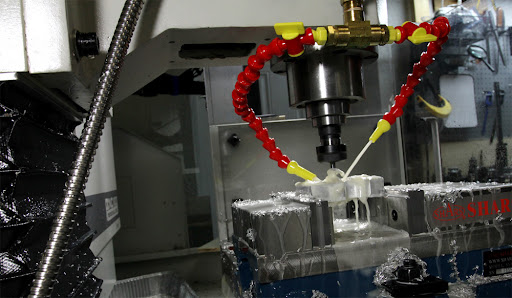
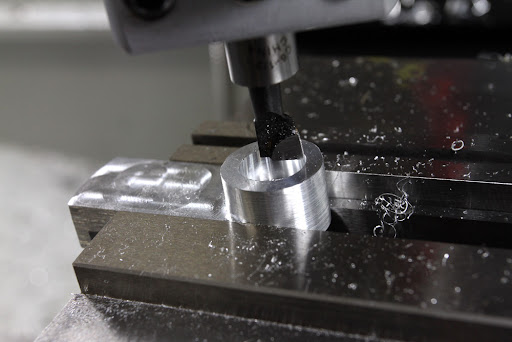
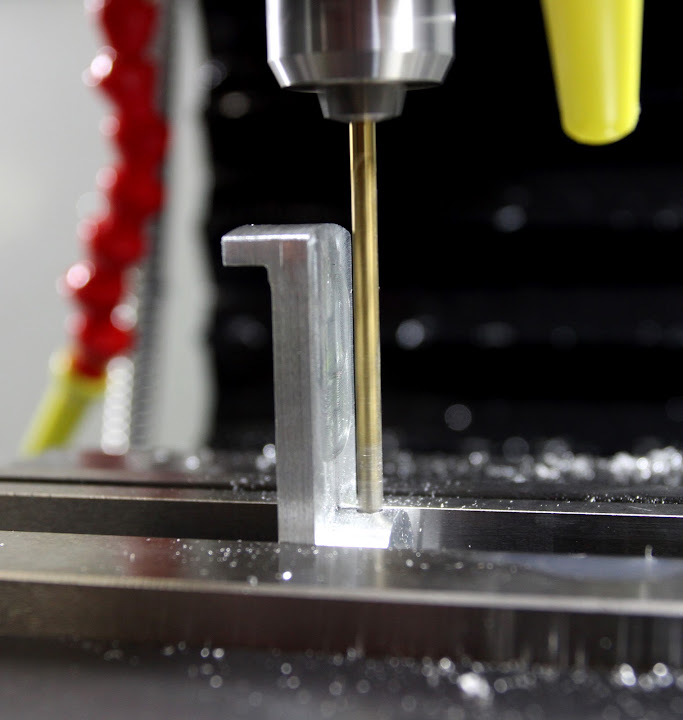
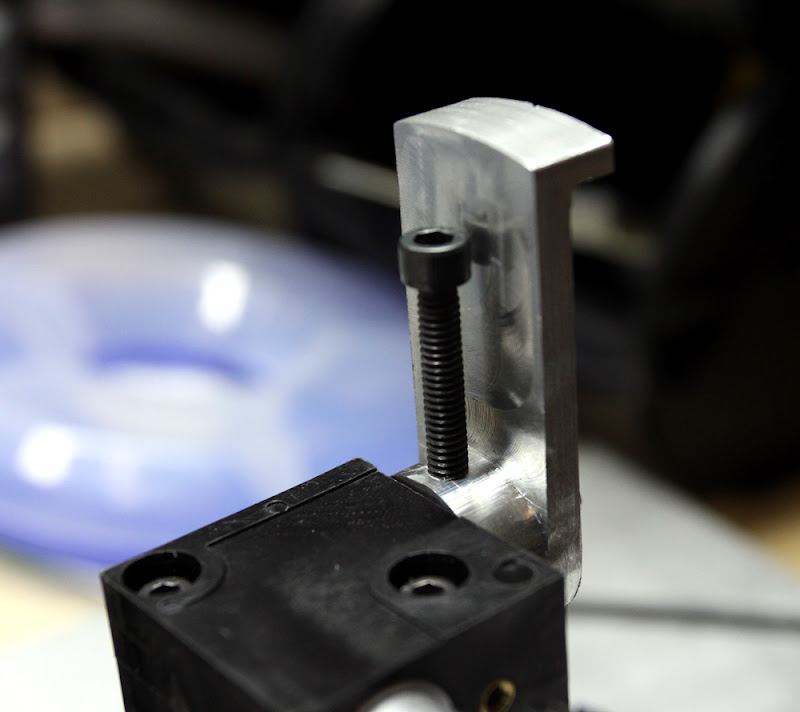
The FF marker post didn't come out with a great finish, broke a 1/4" carbide bit like a toothpick right before I was able to make the last pass. Trying to use older leftover material that was too small, bad move.. The side on my stock material was a little thin and the vise pinched the sides walls causing the bit to snap ! Saved the part, but again not the best finish. Going to probably cutout a another.

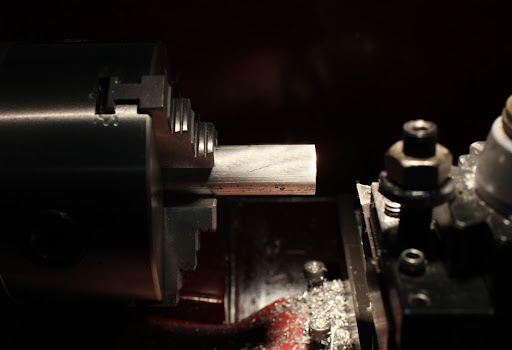
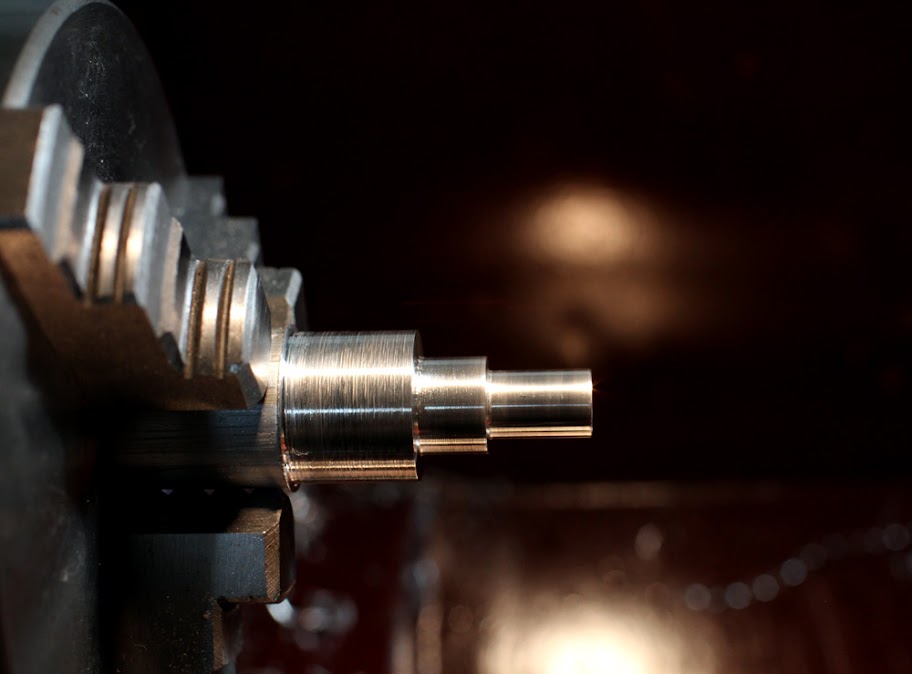
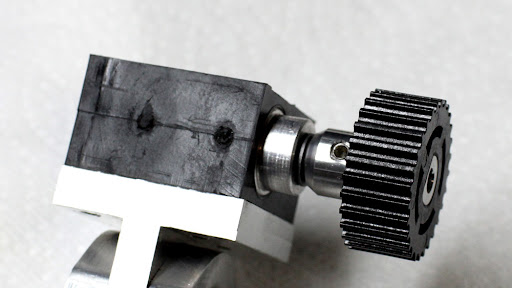
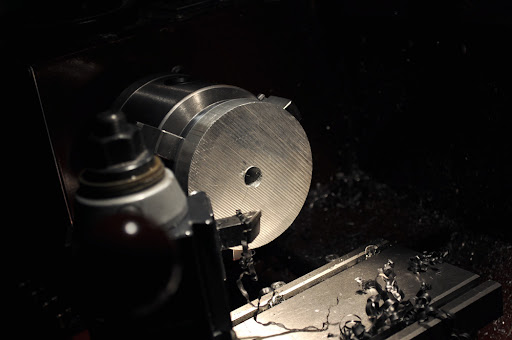
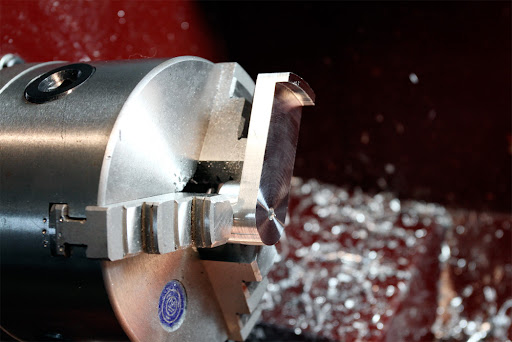
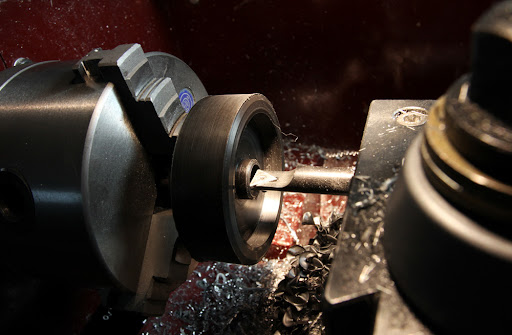
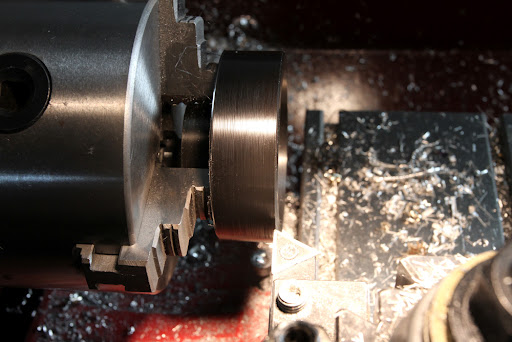
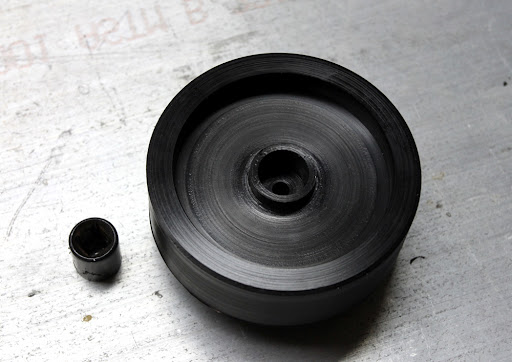
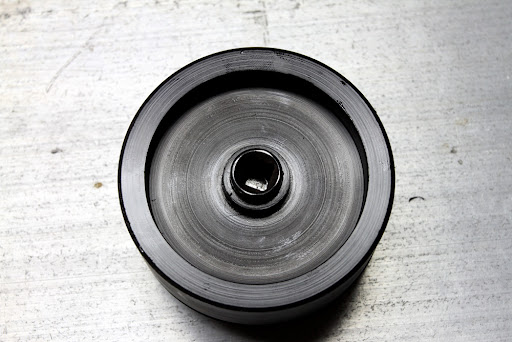
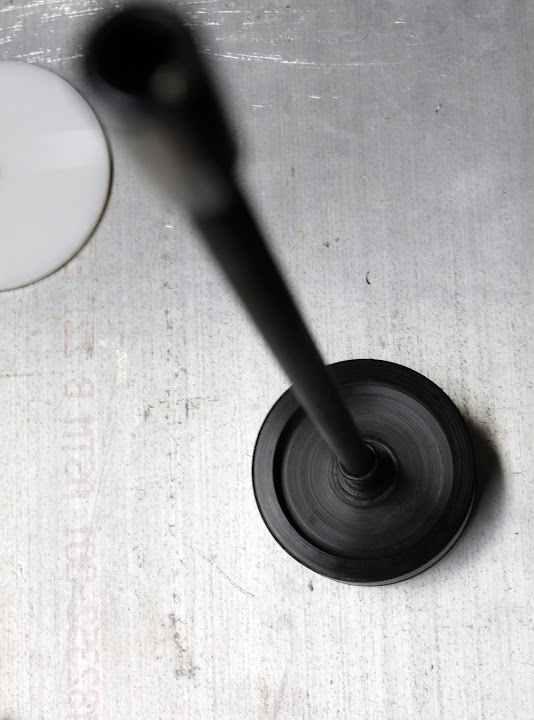
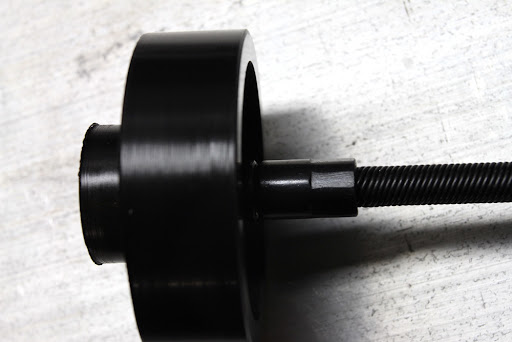
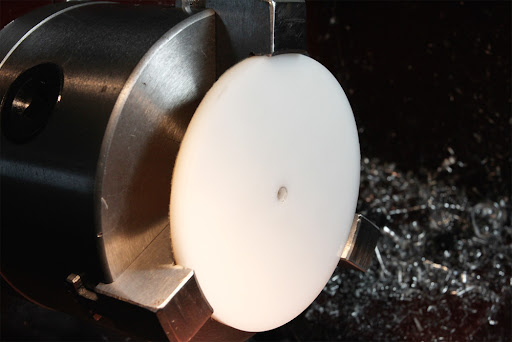
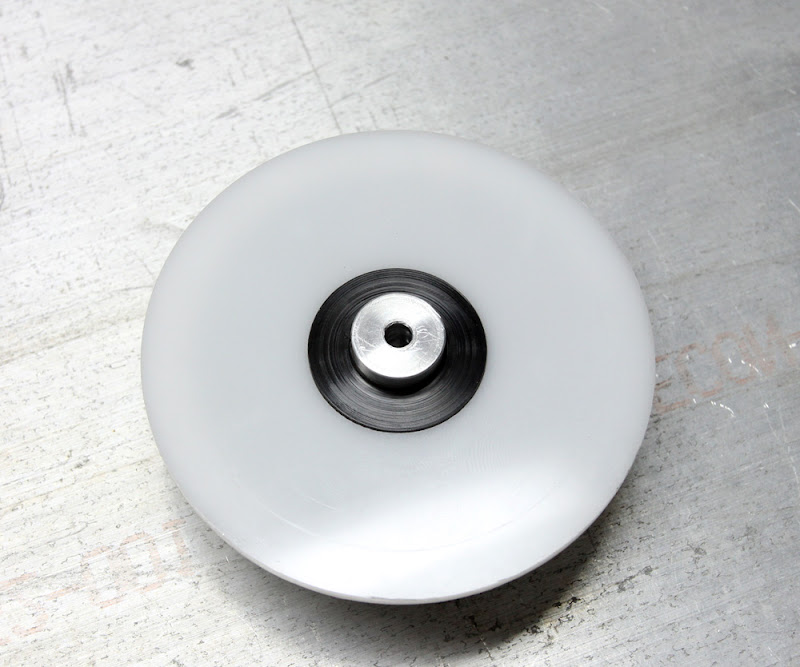
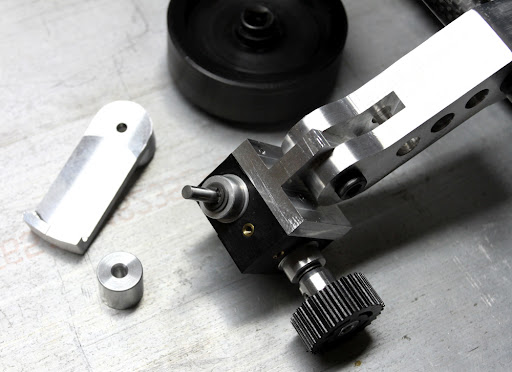
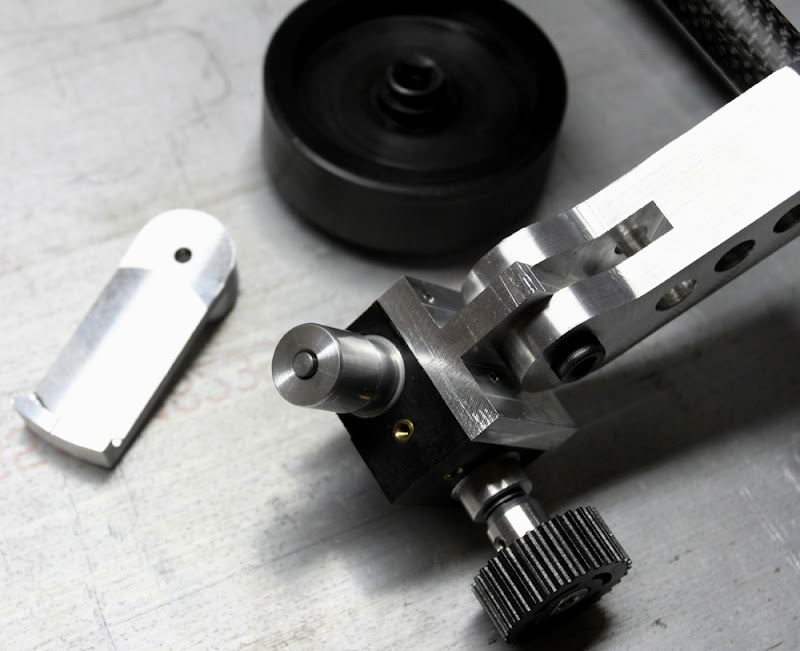
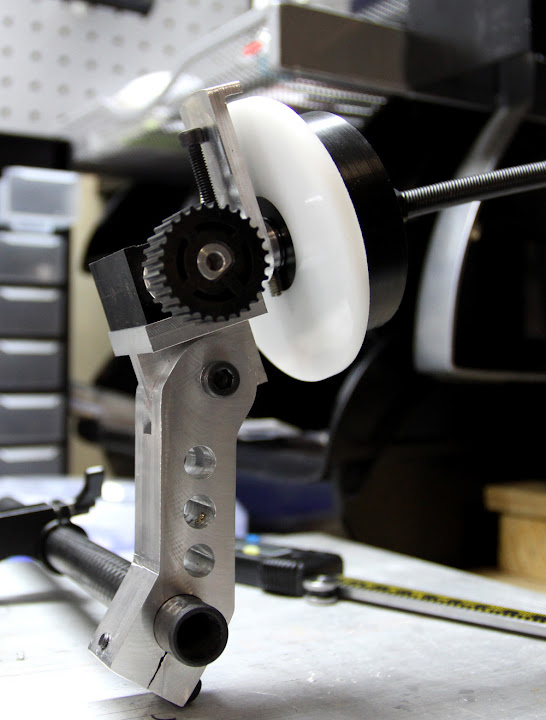
As for the hand wheel I've had laying around, I finished the outside and the inter part is next. Cut a simple socket adapter in half and faced the wall. Press fit that into the derlin hand wheel and add a socket extension as a whip.


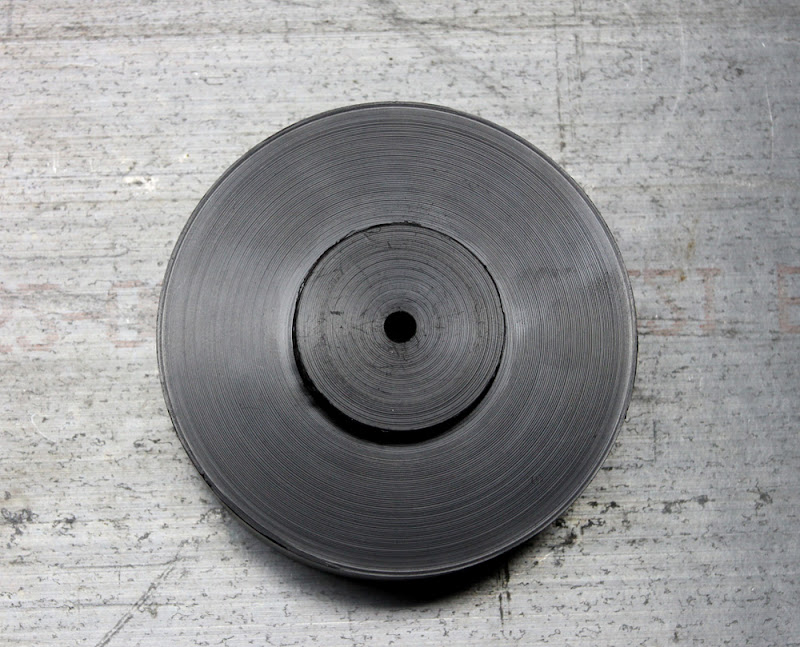
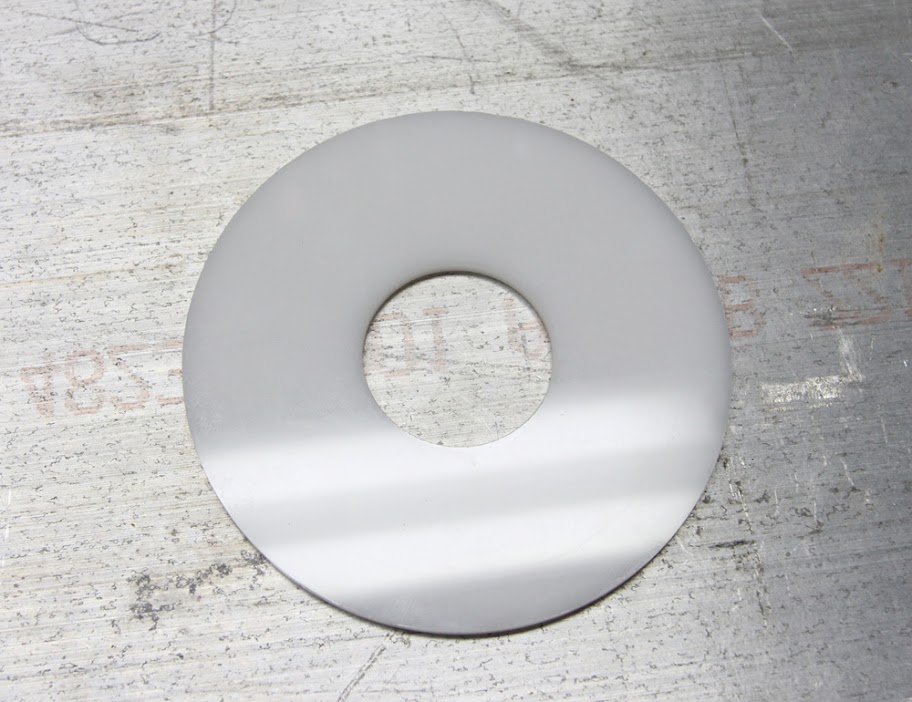
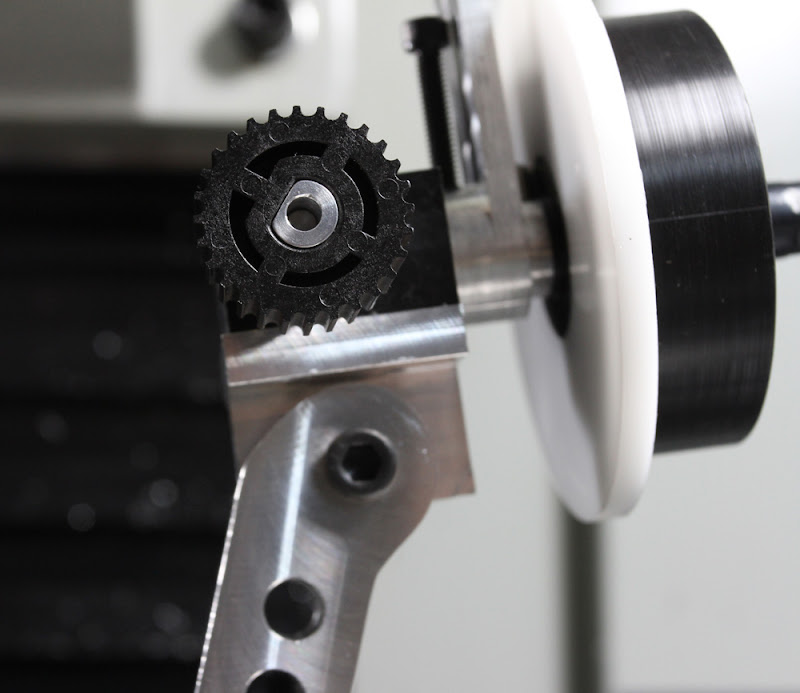
The marker board was a little thick for this style gear box, very limited room on the shaft. Monday I'm going to get 1/8" thick plastic. More to come... :)


FF%20Marker%20Post%20CNC%20%28right%20before%200.25%202%20FL%20broke%29.jpg


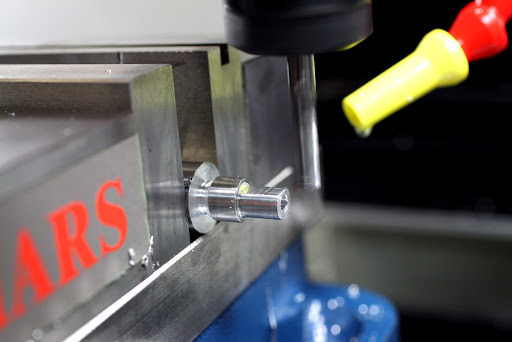
FF%20Marker%20Post%20CNC%20%28drilling%29.jpg


FF%20Marker%20Post%20CNC%20%280.5%20rougher%20pocket%29.jpg


FF%20Marker%20Post%20CNC%20%28ran%20out%20of%20coolant%29.jpg


FF%20Marker%20Post%20CNC%20%28rough%20cut%29.jpg


FF%20Marker%20Post%20CNC.jpg


FF%20Marker%20Post%20%28boring%20hole%29.jpg


FF%20Marker%20Post.jpg


Handwheel%20Socket%20Bored.jpg


Handwheel%20Turned%20%28finished%29.jpg


FF%20Handwheel%20%2B%20Socket%20Adapter.jpg


Handwheel%20%2B%20Socket%20Adapter%20Pressed.jpg


FF%20Handwheel%20%2B%20Whip.jpg


Handwheel%2C%20Socket%20Adapter%20%26%20Whip.jpg


FF%20Marker%20Board.jpg
 
Just about finished !* :D* *

Tomorrow I'm going to tumble & polish them finally. As for the sprocket I can't remember what company makes it, but I do remember buying it from the surplus shed awhile back. Ha finally 3 years later I make it... The sprocket I'm going to remake, I want to add walls so that the band doesn't slip off for the lenses that drive a little more forward/backward. I've looked on the internet and haven't found any of the systems using the rubber pulley + sprocket, and hope this works out. I'm going to do some testing this week after the unit is polished and then onto a wireless band driven system. :)


FF%20Handwheel%20Faced%20%26%20Drilled.jpg


FF%20Marker%20Bored.jpg


FF%20Handwheel%2C%20Shaft%20Collar%20%26%20White%20Marker%20Board.jpg


FF%20Gearbox%20Plated%20Mounted.jpg


FF%20Handwheel%20Install.jpg


FF%20Handwheel%20Install%201.jpg


FF%20Handwheel%20Shaft%20Collar%20Install.jpg


FF%20Marker%20Post%20Drill.jpg


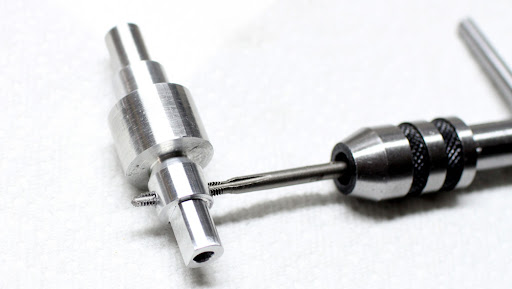
FF%20Marker%20Post%20Tapped%208-32.jpg


FF%20Done%202.jpg


FF%20Done%203.jpg


FF%20Done.jpg


iFocus%20M1%20DONE.jpg
 
What kind of media will you be tumbling your parts in? Ceramic? Walnut? Plastic?

What is the final finish going to be? Anodized? Painted? Powder Coated? Tumbled polished aluminum?

I love the detailed photos.
 
First deburr, next plastic triangles + aluminum oxide (testing), then walnut shells. If the finish is still off, belt sand areas that need it, then repeat cycle until it's perfect.


Reading up and working on the anodizing thing as we speak. The finish for now will be polished until I get this up and running. If it was a big batch needed, then I'd hire out.


Thanks, I tried to make it a learning experience and hope some people here gained from it. :)


I'll post some video soon.
 
Thanks everyone !

Yes few updates, waiting on the gearbox company to get back to me on a close to zero backlash gearbox if they make them. If not, looks like the 2 degrees of BL will have to do for now. As for the FF M1 it's complete and haven't had time to shoot any test footage since I've been in the shop night and day making new things. I'm working on finishing the rail system base plate and will have a full setup to shoot with very soon for test footage.


Here's the rail system I'm talking about

http://www.dvxuser.com/V6/showthread.php?t=211749


.
 
Last edited:
Back
Top